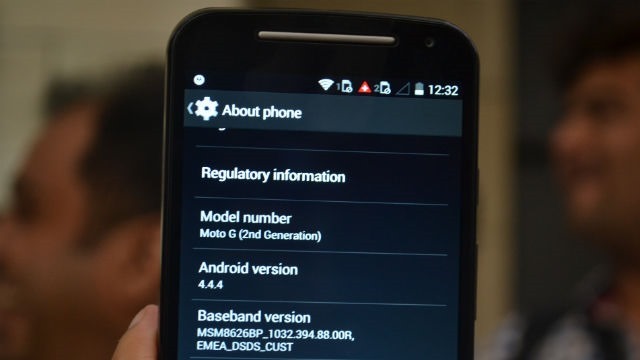
Ok, now you got your new Moto G 2nd Gen but no android phone is complete without root access ! This handy tutorial will help you to root Moto G 2nd gen and install custom recovery.
Requirements:
- Motorola drivers installed (click here to download).
- A PC with fastboot installed (ADB+Fastboot)
- TWRP recovery image
- SuperSU
Step by Step: How to Root Moto G (2nd Gen)
- First you have to unlock your BootLoader. Just go here and follow the instructions.
- Download the SuperSU file from here and copy it to internal SD card.
- Power OFF your device.
- Now, you need to Boot into Bootloader mode (Hold power+Vol down and release).
- Connect your device to your PC.
- Flash TWRP recovery using through fastboot mode. Go to adb+fastboot folder and type the following in command prompt.
fastboot flash recovery TWRP2.7.1.1-titan-motog-2014.img
- Flash SuperSU zip from recovery. (Press power and volume down together after switching off to get into recovery)
- Reboot and now your Moto G is successfully rooted with Custom TWRP recovery installed.
A small bug in this method is you can’t backup data to your Internal SD card which will be fixed soon.
Thanks to XDA for this guide.
Also Read: Everything Apple announced that you care about
You can ask any doubts in comments. If you have any problems, feel free to ask.
Note: This procedure is very technical and should be performed by a person with sound knowledge of rooting (or manual software installation) Android devices. If the step-by-step installation process is not followed properly, there are chances of the smartphone getting bricked or being permanently irreparable.We cannot be held responsible for any damage or claims from readers if the procedure does not yield the required results or if the smartphone is bricked. Hence, users are advised to proceed with caution.


